Jamf Installation
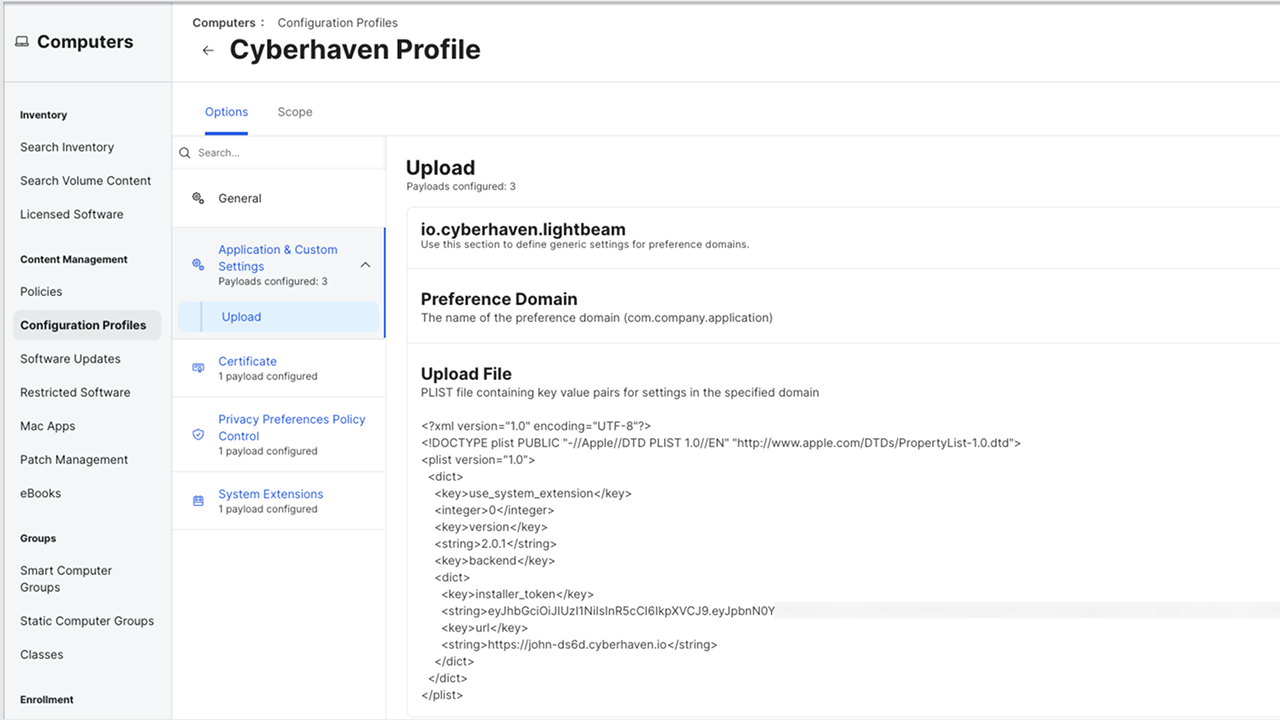
- Create the privacy preferences policy control in Jamf by uploading the ready-made profile for the Cyberhaven sensor downloaded from your Cyberhaven instance.
- Assign the profile to the computers and users of your choice for the Scope tab. For instance, you can deploy to all computers and users.
- Upload the package to Jamf, using the default settings.
- Ensure that all privacy profiles have been pushed to the computers in scope.
- After all computers in scope have had the Cyberhaven profile deployed (no pending or failed profile deployments), you can set up a policy to install the Cyberhaven package to the same scope (i.e., computers, users) as the Cyberhaven privacy profile. Note that users who receive the package before their privacy profiles were fully deployed will get popups to request security and privacy permissions.
Known Issue: VPN Configuration Prompt
Some MDM solutions may prompt for a VPN hostname when uploading the Cyberhaven MDM profile (version 2.0.8 or later), due to the inclusion of inline proxy support for Microsoft Teams traffic inspection. If prompted, enter 127.0.0.1 as the VPN hostname to proceed with the upload. For details about Microsoft Teams support, see Microsoft Teams Support with Windows and macOS Sensors